

Is Your Arizona Home Ready for the 2026 Monsoon Season?
The forecast is in, and it is worth paying attention to. The NOAA Climate Prediction Center is projecting a wetter-than-normal 2026 monsoon season for Arizona, arriving on top of soil …

Phoenix Kitchen Remodel Cost in 2026: A Complete Pricing Guide
Most Phoenix kitchen remodel cost articles do one of two things. They either give you national averages that have nothing to do with the Valley, or they refuse to give …
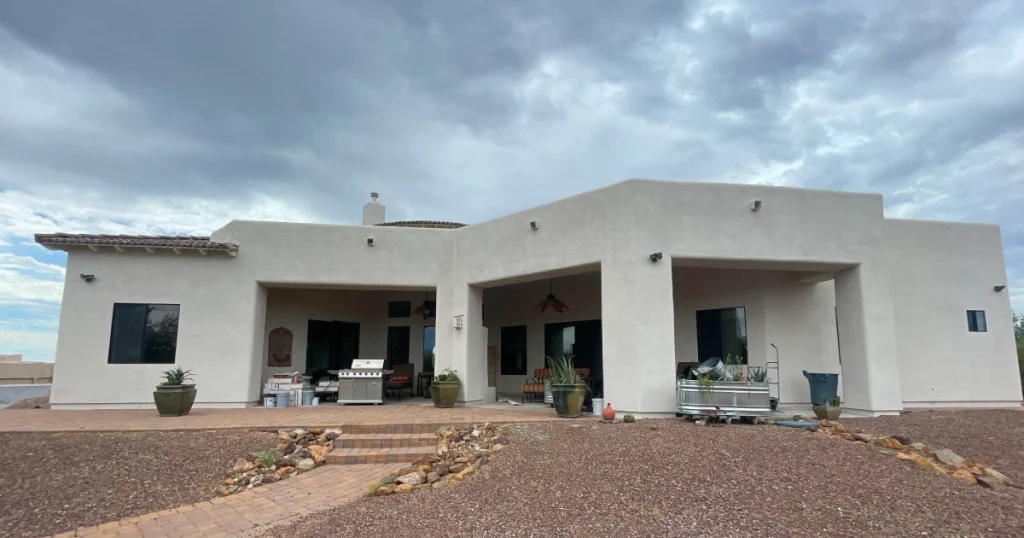
How to Hire the Best Stucco Contractor in Phoenix: Questions to Ask Before You Sign
I hear it almost every other week. A homeowner calls our office, frustrated, sometimes angry, and tells me some version of the same story: “We’ve had three other companies look …
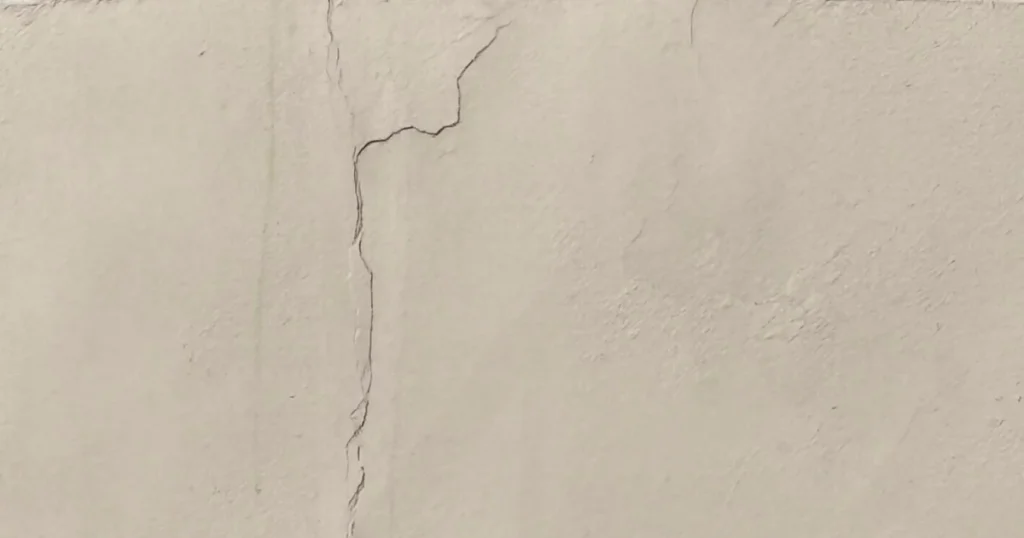
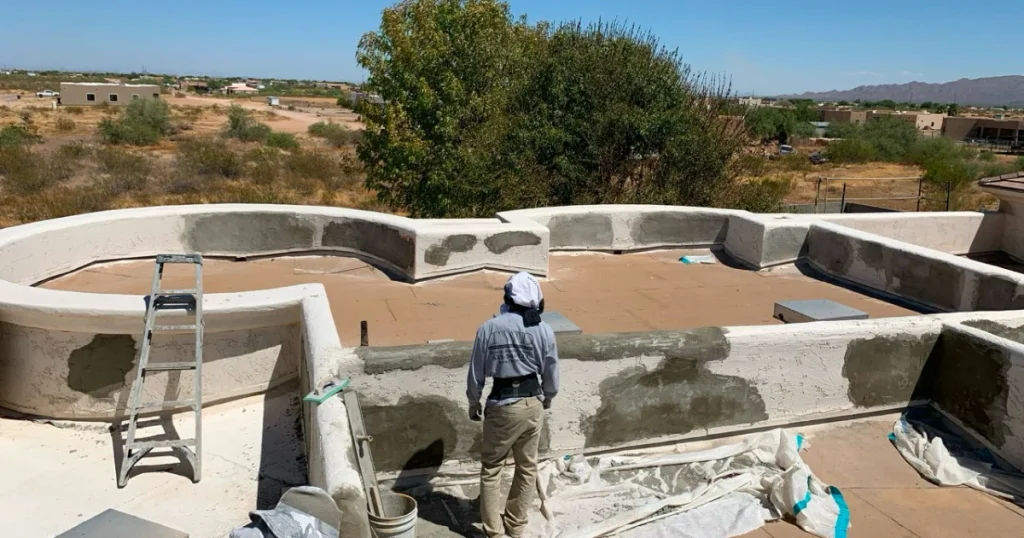
Stucco Repair Phoenix: Crack Types, Causes, and When to Call a Pro
You notice a thin line running up the stucco on the side of your house. Maybe it’s near a window. Maybe it follows the corner where two walls meet. …
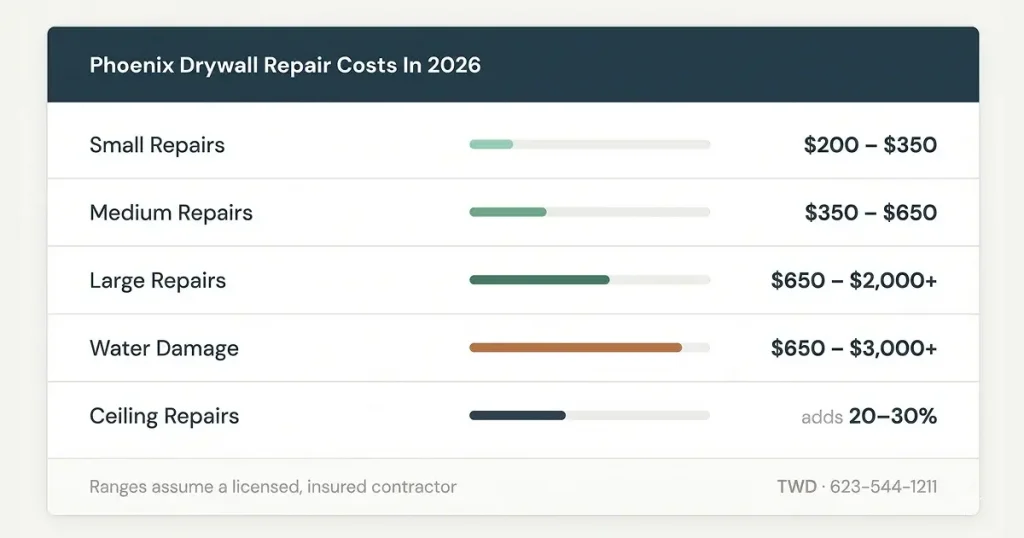
How Much Does Drywall Repair Cost in Phoenix? 2026 Pricing Guide
Nobody likes surprises on a repair bill. After 30 years of running Todd Whittaker Drywall in Phoenix and serving more than 46,000 customers in and around Phoenix, I can tell …
Guide to Hiring a Stucco, Painting, or Drywall Contractor in Phoenix
I’ve been running Todd Whittaker Drywall since 1996. In that time, we’ve completed work for over 46,000+ customers across the Phoenix metro area. I’ve seen what happens when homeowners hire …
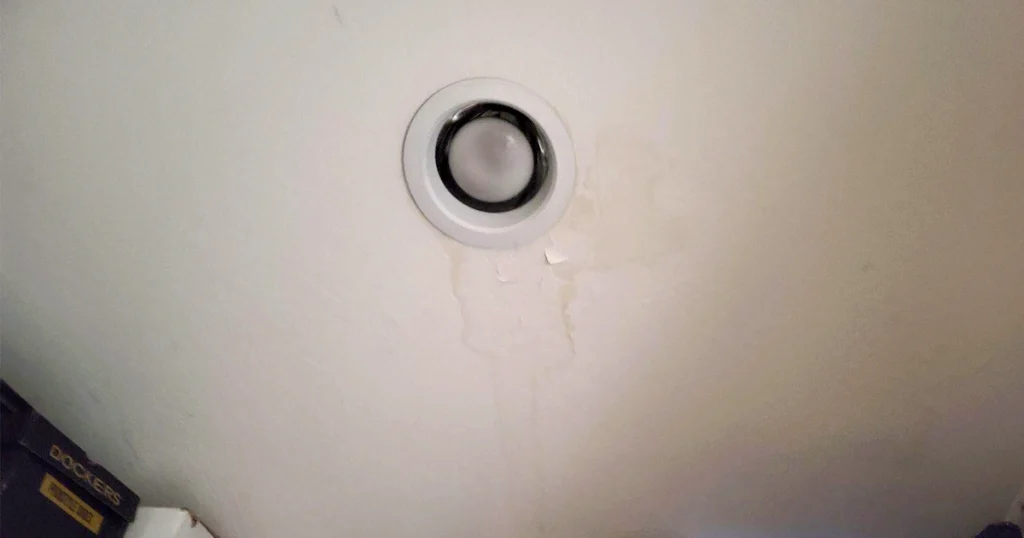
Drywall Water Damage Repair in Phoenix: Detection, Restoration & Prevention
That water stain on your ceiling? It’s probably lying to you.
What you see on the surface is often just 20% of the actual damage hiding inside your walls. Water …
The Complete Guide to Drywall Crack Repair in Phoenix
That crack in your ceiling wasn’t there last summer. Or maybe it was, and you’re just now noticing how much longer it’s gotten. Either way, you’re not imagining things. Phoenix …

Spring Into Action: Must-Do Maintenance and Repair Tips
Springtime is here, meaning most Arizona Homeowners are getting ready to start spring cleaning. This may include checking off home maintenance projects. To help you refresh and protect your …

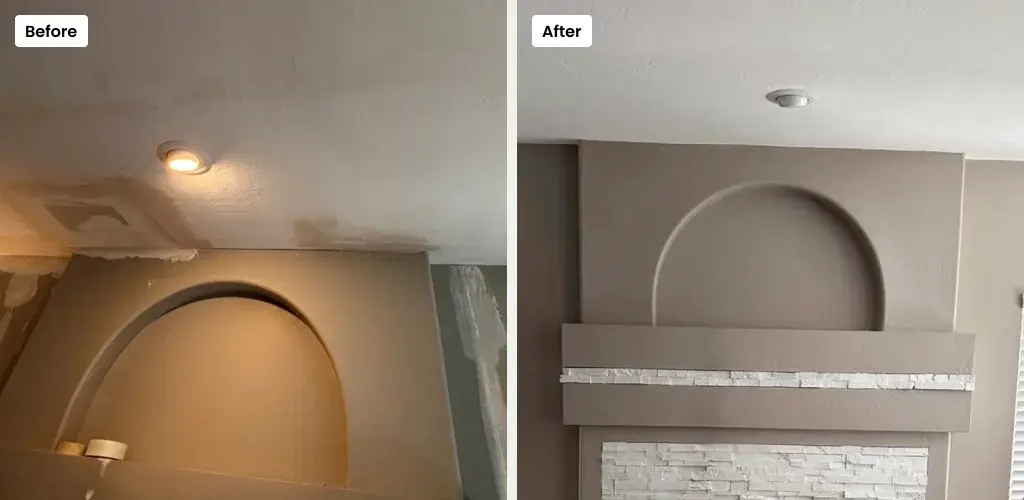
DESIGNING YOUR DREAM MEDIA WALL
Media walls are set to be one of the leading design trends in 2025, offering the ideal blend of style and practicality. They are fully customizable to …